Unreal Engine Short Film
Unreal Engine 5 Images
Revised Grasshopper Pavilion
Modified Precedent
Architectural Precedent
3DS Max Architectural Precedent
Pavilion Grasshopper and Rhino Links
Unreal Engine Drop Box Link
Saturday 14 November 2015
Unreal Engine 5 Images

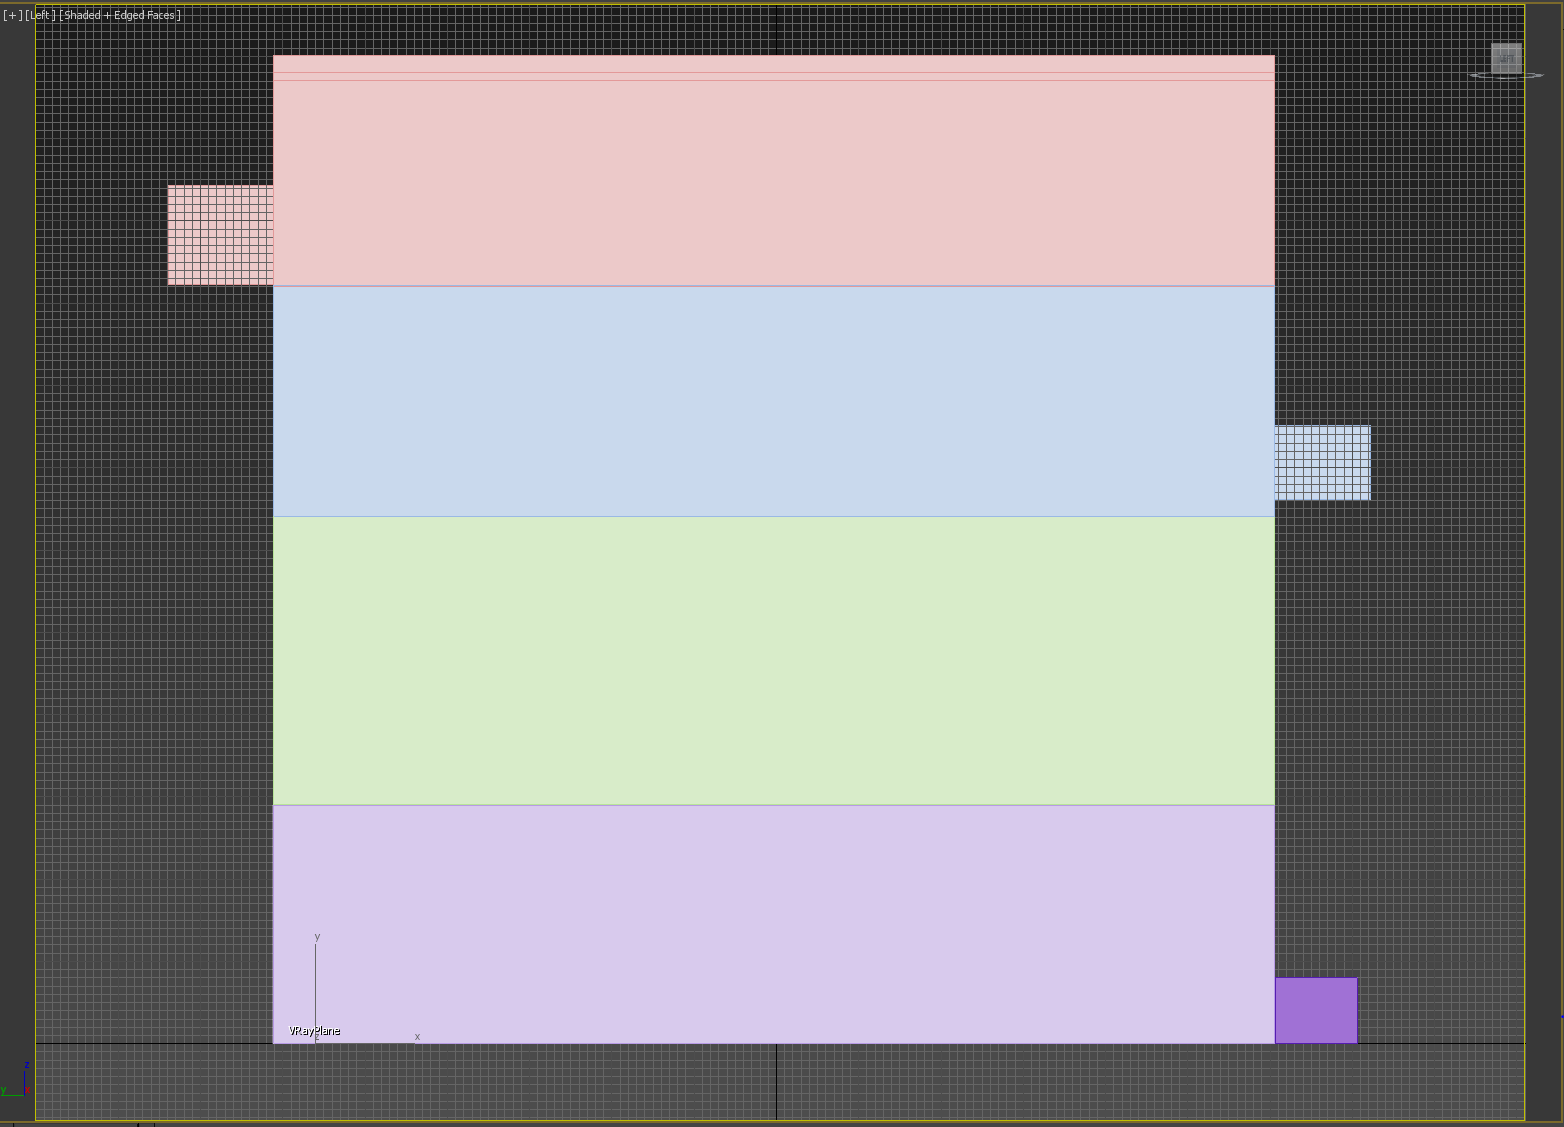
Using XY planes in the waffled structure acts as roofing for the pavilion.

There are entrances on the East and West of the site that allows the public to enter the space.

Although the pavilion and the residence are not connected physically, they connect through form and purpose as they compliment each other equally. Over lapping each other and both having relaxed and light overall forms gives a sense of balance to the space. As the residence acts as a combined public/private space, the pavilion provides shelter for those using the residential space as well as those who are lounging in the area.

The roof top, which is open to the public, is where the open showers and lockers are located. Having the lockers and showers on the roof of the private residence gives more privacy to those using the showers as well as provides more space on the ground for people to use.

Friday 13 November 2015
Showers and Lockers

The public lockers and showers are located on the roof of the private residence. This is so there is more privacy for those using the showers, and there is more room on the ground.

The showers are located in the back, behind the dividing wall, separating them from the lockers.


Saturday 31 October 2015
3DS Max Architectural Precedent
Below are screen shots of the architectural precedent by Le Corbusier in 3DS Max.


Monday 19 October 2015


3DS Max Notes
Navigation:
- Select object and hit Z to zoom on object
- With no selection, hitting z will fit the whole object to the view port
- Orbit by hlding alt + middle mouse button
- Pan with middle mouse button
- Zoom view through scroll wheel or hold crtl + alt key and drag with mioddle mouse button
- ALT + W to maximise a viewport
Link and Reference Content:
- Xref can be imported, but not edited
- Xref object can be transformed or modified when imported
- Xref oibjects, DWG, FBX and RVT can be linked to
- Update automatically” in the file command. Change to the model will not affect the oringial file
Working with scale:
- Unit set up > system unit set up
- Converting units on import may be required
- Automatically set to inches
Locating and managing objects:
- Use scene explorer to manage objects in scene
- Objects can be filtered y type or name
- Scene explorer can be configured toshow more properties
- Properties from multiple objects can be edited al at once
Move and select object:
- W = move
- E = rotate
- R = scale
- Y = placement mode which allows you to position objects onto surfaces
- H = select from scene dialogue
- Crossing region selection = all objects that are even partially in the selected area will be selected
- Window mode = all objects that are fully inside the window area will be selected.
- Crtl and click to multiple select
- Alt and click to deselect
- You can add odifiers to an object, each modifier provides additional tools and parameters to affect the object
- Re-ordering the modifies will affect the result
Motion:
- Time sliders can be used to view animations
- To adjust the number of frames you can see in the timeline, drag with the Right mouse buttin while holding Ctrl and Alt
- Auto key or set key mode can be used to animate
Apply and edit materials:
- To create new material, double click on material or drag from material map browser to active view. To assign material to an object, drag a connection from its outputsocket on to the object, or click the assign material to selected button.
- To adjust a materials components, double click its node, the parameter editor lists all components related to the material.
- Scanline, mental Ray, iRay can be used to render
Rendering:
- Use photometric lights, mrSun and mrSky for realisting lighting with the Nvidia renderes
- Make sure your lights are turned on
- Adding extra lights removes all te default lights
- You must choose the active renderer
- Use an environment map when using Nvidia renderers
- Use mental Ray materials or materials from the Autodesk Material Library for more sophisticated results
Thursday 15 October 2015

Saturday 12 September 2015

Week 7: Third Parametric Pavilion (Metaballs)
Theory: Mobility


A deck is added on to the site to provide an area for a shower and locker room below it.

The entrance leads to a shower/locker room area, open to the public.
 The porous design allows sunlight to come through. Benches are also incorporated on to the site for people to use.


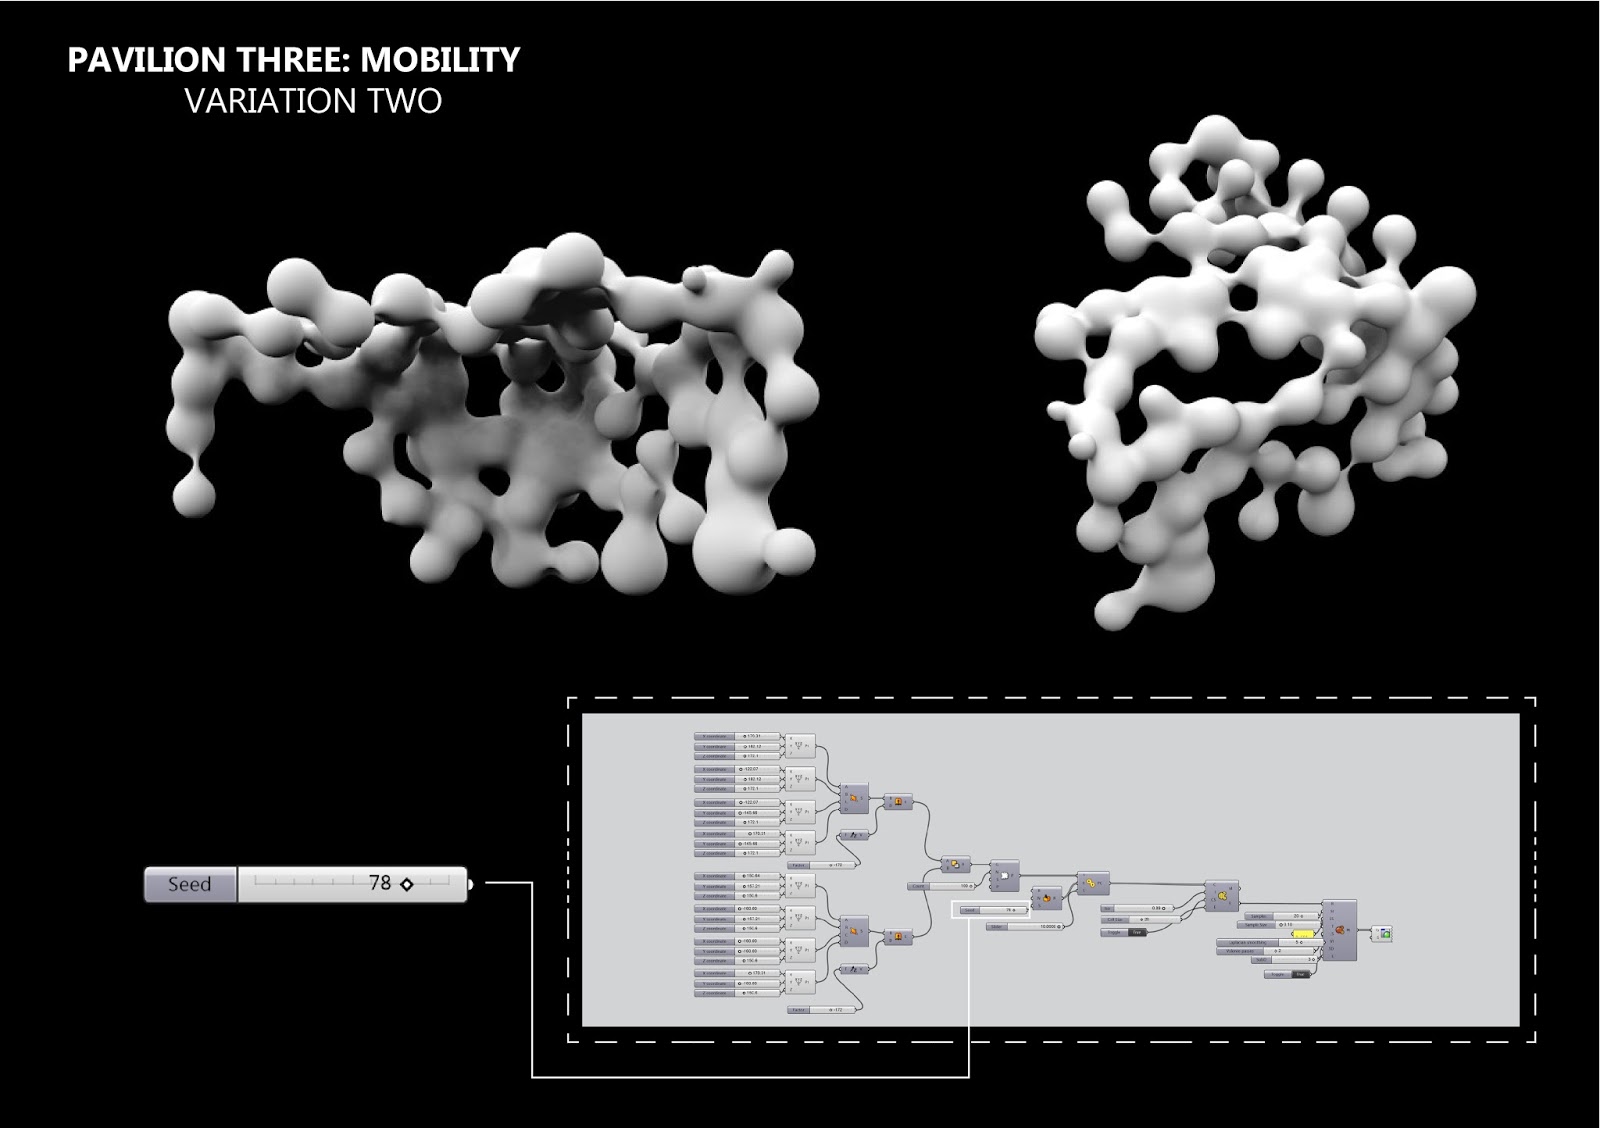

The
design of this pavilion was inspired by P-Wall by Matsys and the fluid movement
of liquid substances. Made out of metaballs, the pavilion provides coverage
from sun. The “blobs” represent the culturally diverse community of
Woolloomooloo and how each ethnicity is individual yet is apart of the same
community.
Saturday 5 September 2015


Friday 4 September 2015
Week 6: Second Parametric Pavilion (Kangaroo)
Theory: Emergence

 A deck is added on to the site to provide a shower and locker room below it.


Round benches positioned around the columns


The opening in the wall leads to the area under the deck. Inside lockers, showers and a restroom are available to the public.


This pavilion was inspired by the trees within
the site and the natural structure of voronoi cells. Using the voronoi cell
pattern as the membrane to be stretched, the anchor points were chosen based on
ethnicity census data collected from Woolloomooloo. Each location of each
anchor point represents the top six countries location in relation to one
another as if they were on a map.
By stretching the voronoi membrane with anchor
points held to the ground, tree like structures are created as the pillars. These
are reminiscent of the trees originally in the site.
Sunday 30 August 2015
Week 5: First Parametric Pavilion (Lunchbox)
Theory: Terminal Line


Benches scattered across the site for people to use

The glass panels allow sunlight to pour through

Incorporated in to the pavilion and in the site is an extended deck with a locker room and shower area underneath.


Preston Scott Cohen’s terminal line can be
described as a surface with a
temporary loss of smoothness. Coupled with my census data of ethnicity, the
following pavilion was designed. The panellised rippling roof provides a smooth
surface that shelters people from sun and rain. This is then interrupted by the
straight walls which also act as barriers to create privacy. The juxtaposition
of curvature and shapes creates a simple, yet dynamic form.
The walls are
positioned to connect to certain locations on the ground. Each location
represents a country, extracted from the top six ethnicities in Woolloomooloo. With
Australia in the centre, the walls branch out to New Zealand, the UK, Germany,
China and Vietnam. The roof hole sizes are dependent on the percentage of each
ethnicity wall. The bigger the ethnicity percentage the smaller the hole and a
bigger area is affected.
Saturday 29 August 2015
Week 5: PC Gen
To see a HD version of this clip, click here.
Monday 24 August 2015
Week 4: Online Tutorials
Things Learnt From Tutorials 24 - 32
Blueprints:
- Visual scripting
- Uses nodes which have unique coding
- Class blueprint is used for a self-contained actor
Level Blueprint:
- Right Clicking can be used as a short cut to call an event or add an actor
- Red line = boolean
- Blue line = integer
- White line = execution
- Green line = float
- Click Compile to update blueprint, then save
Toggling in a Level:
- Requires a proximity base relationship which can be created with a volume or a trigger volume
- You can see the data move through the blueprint in real time
- Can delay an action using "Delay"
- To trigger you must add an event > Collision > OnActorBeginOverlap / OnActorEndOverlap
Creating a Class Blueprint:
- ALT + Click disconnects lines to nodes
- To create your own class blueprint, go to blueprints folder, Right Click > Blueprint, or Blueprints Tab > Class Blueprints:Create
Setting Up Initial Class Blueprint:
- 3 modes within the blueprint: Default, Components, and graph
- You can drag components from editor window directly into blueprint window
Adding Class Blueprint Functions:
- Construction script = active change in the editor
- Event graph = changes in gameplay only
- When making blueprints you can reference your actor by selecting it under the "My Blueprint" panel
- Hold CTRL + drag a variable to "get"
- Hold ALT + drag a variable to "set"
Using Inputs to Control a Class Blueprint:
- If you "Unable Input" or "Disable Input" you must reference a player controller
- Tapping "C" key puts all selected nodes in to a comment box. This box can be moved and colour changed.
Software Comparison -
The blueprints used in UE4 are similar to Grasshopper Scripting for Rhino. Both use visual scripting and have "nodes" that contain code. The way in which you add events or functions is similar and some parts of the user interface are also similar.
The way in which you can create class blueprints to be specific to an actor is interesting and will become very useful in the future. The customisation of those blueprints is also beneficial to creating a unique function.
Tuesday 18 August 2015
Phase One: Data Particle
The data set I chose to visualise through my animated particle was ethnicity.I focused on the top six ethnicities in Woolloomooloo. LocalStatsAustralia reports that in 2011 "45.1% of people living in the suburb of Woolloomooloo were born in Australia. The other top responses for country of birth were 5.6% England, 4.0% New Zealand, 1.7% Vietnam, 1.5% China , 1.5% United States of America.. [and] 1.3% Germany..."
I chose to visualise this through the vector field particle because it could be used to represent a community in the way it clusters and flows as an entity made of smaller particles.
The smaller the particles are, the high the population of that ethnicity, and the bigger the particle the lesser of that ethnicity.
The small blue particles = 45.1% Australian
The medium red particles = 5.6% English
The medium yellow particles = 4.0% New Zealander
The large green particles = 1.7% Vietnamese
The large pink particles = 1.5% Chinese
The large light blue particles = 1.5% German
NOTE: During my data particle recording UnrealEngine began to seriously lag and crash. I was unable to record any high definition recordings without serious lag or software failure. I have worked with what I was able to use, and so the only way I could record anything was to reduce all resolution settings to the lowest possible. I have made a low quality on site recording and a clearer separate recording of the particle itself.
The particles in the site were supposed to randomly flung and bounce off surfaces and interacting with the environment. This can be better shown in the separate recording.
If you would like to see my real particle system you can see it in my file. It is placed under Effects > Particle Systems > P_Vectorfield2
Data Particle: To see a better version click here.
Tuesday 11 August 2015
Week 3: Particle Exploration
Particle One: Vector Particle
Lowest Range: To see a HD version click here.
Medium Range: To see a HD version click here.
Maximum Range: To see a HD version click here.
Particle Two: Water Particle
Lowest Range: To see a HD version click here.
Medium Range: To see a HD version click here.
Maximum Range: To see a HD version click here.
Particle Three: Fire Particle
Lowest Range: To see a HD version click here.
Medium Range: To see a HD version click here.
Maximum Range: To see a HD version click here.
Sunday 9 August 2015
Week 2: Landscaping

Experience word: Openness


Experience word: Discovery

Experience word: Growth

Experience word: Community
Saturday 1 August 2015
Week 1: Independent Study
Things learnt from the tutorials 12 - 23
Stages:
Software Comparison -
The building tools are very similar to SketchUp. Both programs enable you to push and pull objects with they vertices and edges.
The level blueprint is very unlike anything I've ever used. Although it resonates with Grasshopper, both create different results.
Stages:
- Prototype - blocking
- Meshing Pass - finished assets, simple lighting
- Lighting Pass - Place lights, tweak materials and post processing
- Polish Pass - add effects, reflection actions, blocking volumes, audio etc.
Geometry Layout:
- Ctrl + "N" key snaps to the grid
- Alt + drag to copy
- "N" key snaps the selected object to the below surface
- In geometry mode you can push and pull
- Hold "L" key + click to bring up a quick light
- Alt + Shift + drag to move camera as you copy objects
Applying Materials to Objects:
- BSP > adjacent wall surfaces = enables you to select all the walls.
- select brushes > BSP > alighntment surface planar = makes the tiles seamlessly line up
Building:
- Ctrl + "G" key to group objects together
- Tap "T" for transparent selection
- Shit + "G" to ungroup
- Changing the brush type to subtractive negatively booleans objects
Level Blue Print:
- Right click to add an event or timeline
- In the timeline select start and end points + Ctrl + Right Click + select Cubic Auto to create a smooth ease in and out.
- Physics > simulate physics so that objects are in real time and physically move.
Software Comparison -
The building tools are very similar to SketchUp. Both programs enable you to push and pull objects with they vertices and edges.
The level blueprint is very unlike anything I've ever used. Although it resonates with Grasshopper, both create different results.
Week 1: Online Tutorial
Things learnt from the tutorials 1 - 11
Mouse Navigation:
Mouse Navigation:
- The camera speed can be changed.
- Navigation can be done through the WASD Keys.
- Alt + left mouse = pivots camera
- Select object + "F" Key = pivots camera around selected object
- Alt + mouse scroll = tracks camera
- hold Shift to move with the camera
Placing Objects:
- Click and drag to add objects
- "W" key to move objects
- Right click to place the last placed object
Moving objects:
- "E" key to Rotate
- Click between axis to move between two axis
- Clicking the globe in the top right corner will allow you to move things on the object space. You can switch between world and local.
- You can change the grid snap and the "smoothness" of the snap
- 1 UR unit = 1cm
- The white dot in the middle of the red, green and blue axis can be used to move the object in all 3 axis.
Rotating Objects:
- "E" key to rotate.
- You can rotate on a local and world space
- Numbers can be manually entered for precise rotation.
Scaling Objects:
- "R" key for Scale
- You can click in between two axis to scale in both directions.
Customisation:
- You can move and delete panels
- Right clicking can hide the tabs. An orange triangle means there's a hidden tab
Software Comparison -
Unreal Engine seems to have some similarities to Rhino, but there are a lot more short cut keys for the numerous actions you can do. Putting the actions down to keyboard keys makes things simple and easy to use, but there is a lot to remember in terms of which key belongs to which action.
Unreal Engine seems to have some similarities to Rhino, but there are a lot more short cut keys for the numerous actions you can do. Putting the actions down to keyboard keys makes things simple and easy to use, but there is a lot to remember in terms of which key belongs to which action.
Subscribe to:
Posts (Atom)